
#docs #integrations #how-to #iOS
Using TelemetryDeck with RevenueCat
Here's how to integrate TelemetryDeck with RevenueCat to combine usage data with purchase data.
RevenueCat is a service that helps you process payments and in-app purchases on iOS, Android, and the web. It’s a great way to add monetization to your app.
RevenueCat pairs excellently with TelemetryDeck – use TelemetryDeck to improve your users’ flow through your application, and then present them with convenient In-App-Purchase offers.
With this integration, you can import your RevenueCat events into TelemetryDeck, and see everything on one dashboard. We’ll be using RevenueCat’s Webhooks feature to pass on their data to TelemetryDeck.
Installing RevenueCat and TelemetryDeck
First, we have to integrate both TelemetryDeck and RevenueCat into your app. You can find guides for both here:
Configuring the RevenueCat SDK
RevenueCat has a concept of user attributes. Our goal is to set two new user attributes for our RevenueCat users that will make TelemetryDeck recognize them as the same users it is already managing.
$telemetryDeckAppId: This attribute should be set to your TelemetryDeck App ID, the same one you pass into the TelemetryDeck SDK for initialization.$telemetryDeckUserId: This attribute needs to be the already-hashed user identifier that TelemetryDeck is using.
iOS
Here’s how to set up TelemetryDeck and RevenueCat on iOS. The setup process is similar for other platforms.
// 1.
// Initialize TelemetryDeck with your app ID
let telemetrydeckAppID = "AAAAAAAA-BBBB-CCCC-DDDD"
let telemetryDeckConfig = TelemetryDeck.Config(
    appID: telemetrydeckAppID,
    salt: "MY_SECRET_SALT" // optional but recommended
)
TelemetryDeck.initialize(config: telemetryDeckConfig)

// 2.
// Manually set a default user for TelemetryDeck
// We're using IFV here, but you can also use
// e.g. an email address or any other identifying property
let myUserID = UIDevice.current
    .identifierForVendor?.uuidString
    ?? "unknown user"
TelemetryDeck.updateDefaultUserID(to: myUserID)

// 3.
// Set up RevenueCat with your TelemetryDeck App ID
// and the pre-hashed TelemetryDeck User ID
Purchases.configure(withAPIKey: "my_revenuecat_api_key")
Purchases.shared.attribution.setAttributes([
    "$telemetryDeckUserId": TelemetryManager.shared
        .hashedDefaultUser
        ?? "no-user",
    "$telemetryDeckAppId": telemetrydeckAppID
])
Here’s what’s going on in the above example
- First we set up TelemetryDeck as described in the setup guide. If you already have set up TelemetryDeck, you can leave your setup unchanged.
- We then manually set a default user for TelemetryDeck. This allows us to later retrieve a hashed version of the user identifier.
- Finally, we configure RevenueCat and set up the necessary user attributes.
Setting up RevenueCat’s TelemetryDeck Integration
Now we need to tell RevenueCat to send copies of all events over to TelemetryDeck. We’re using a RevenueCat’s TelemetryDeckIntegration to do this.
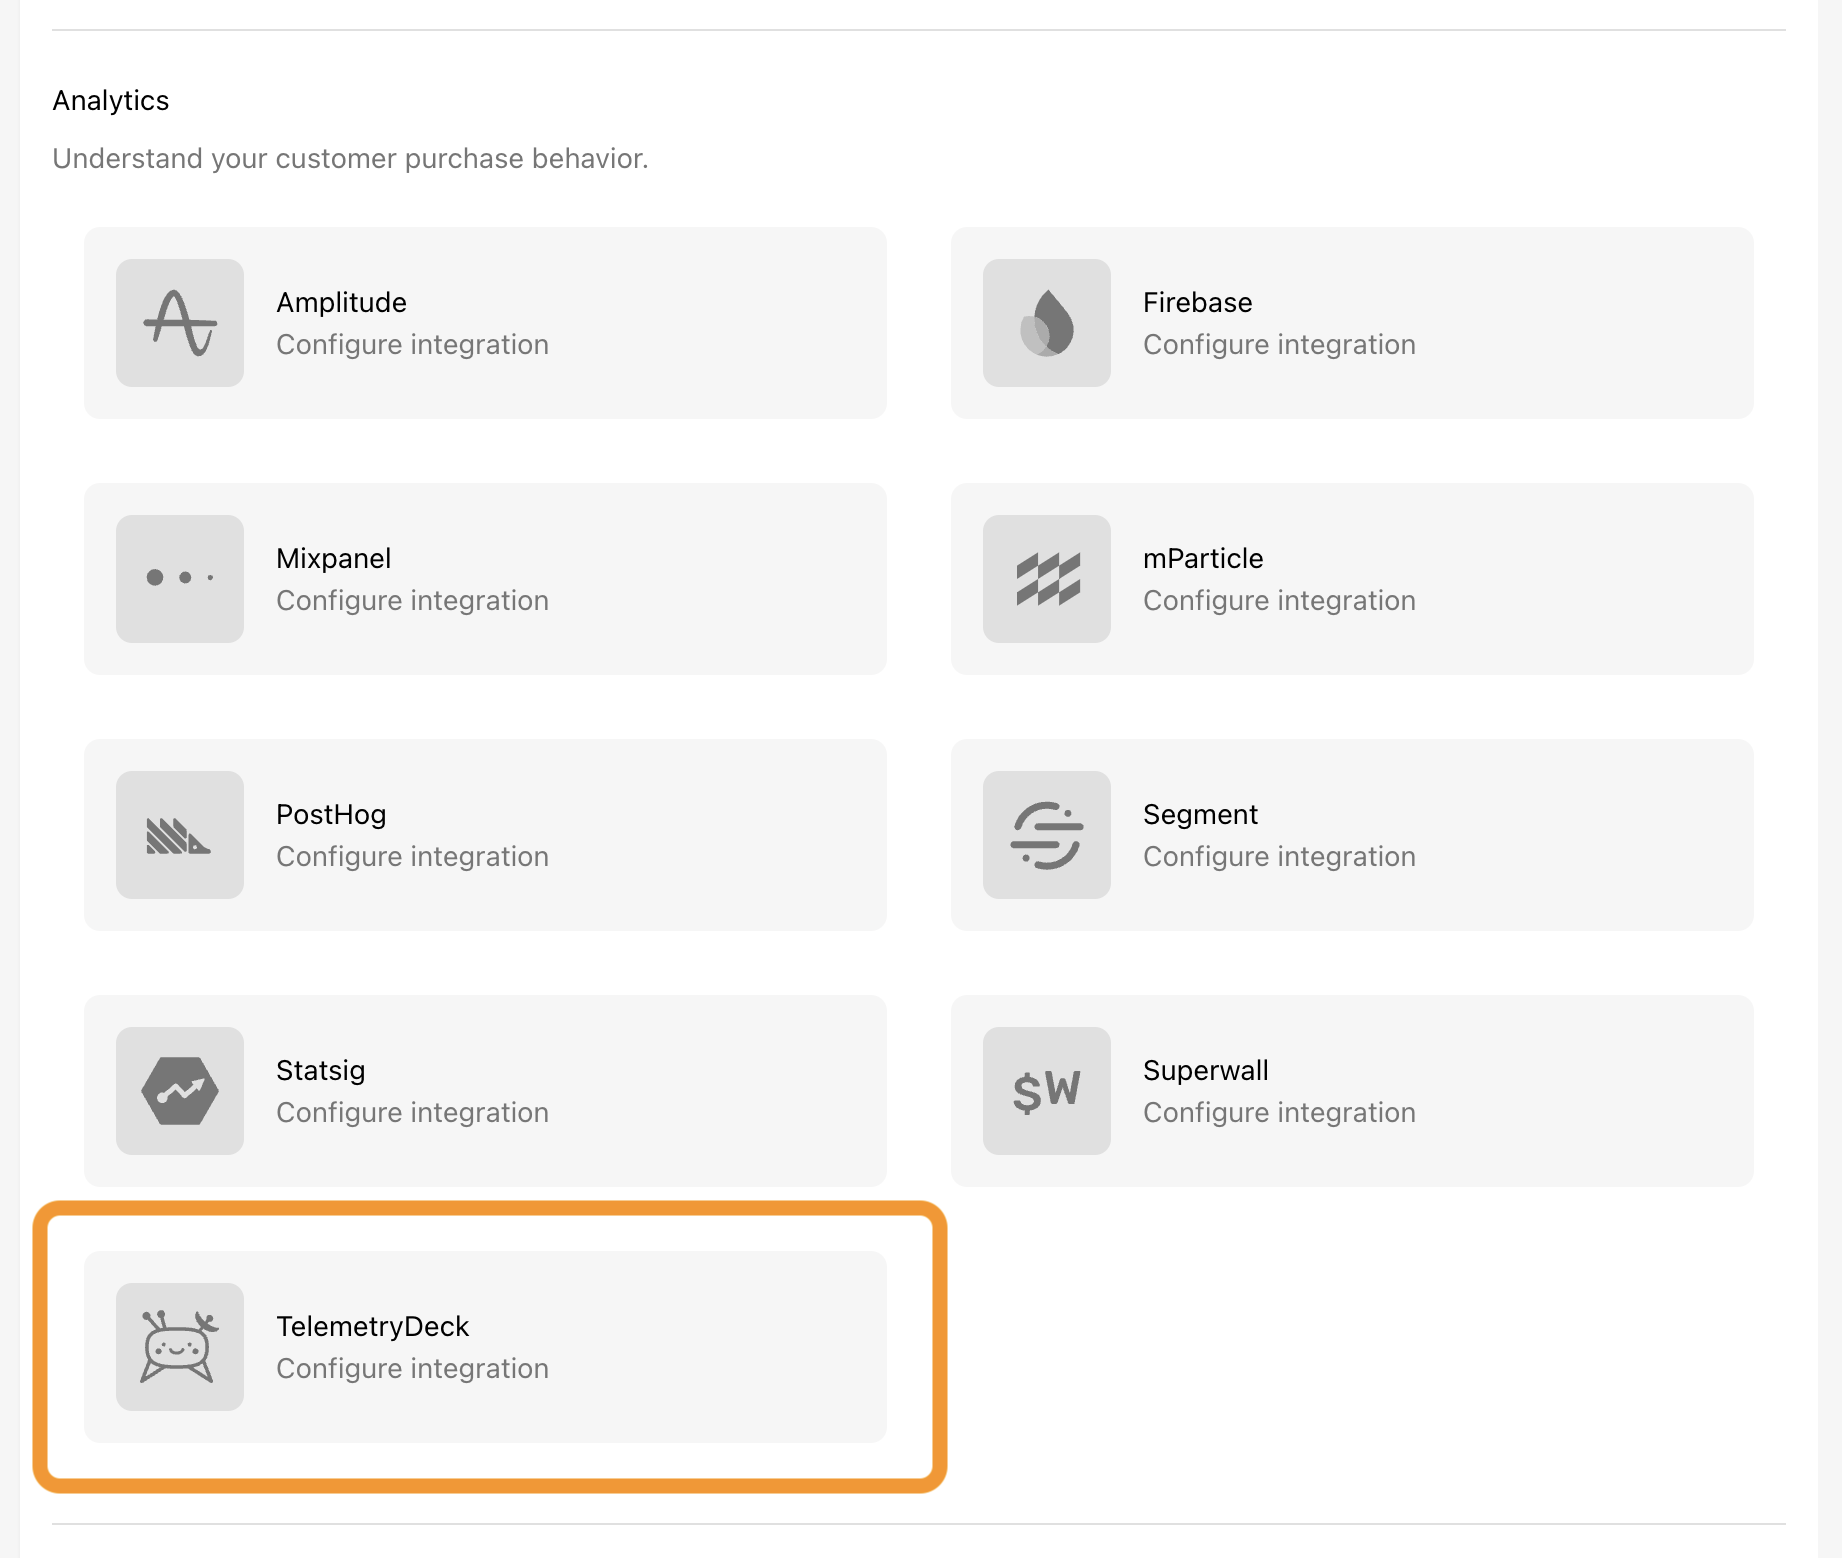
- Navigate to your RevenueCat Project
- In the left sidebar, click Integrations
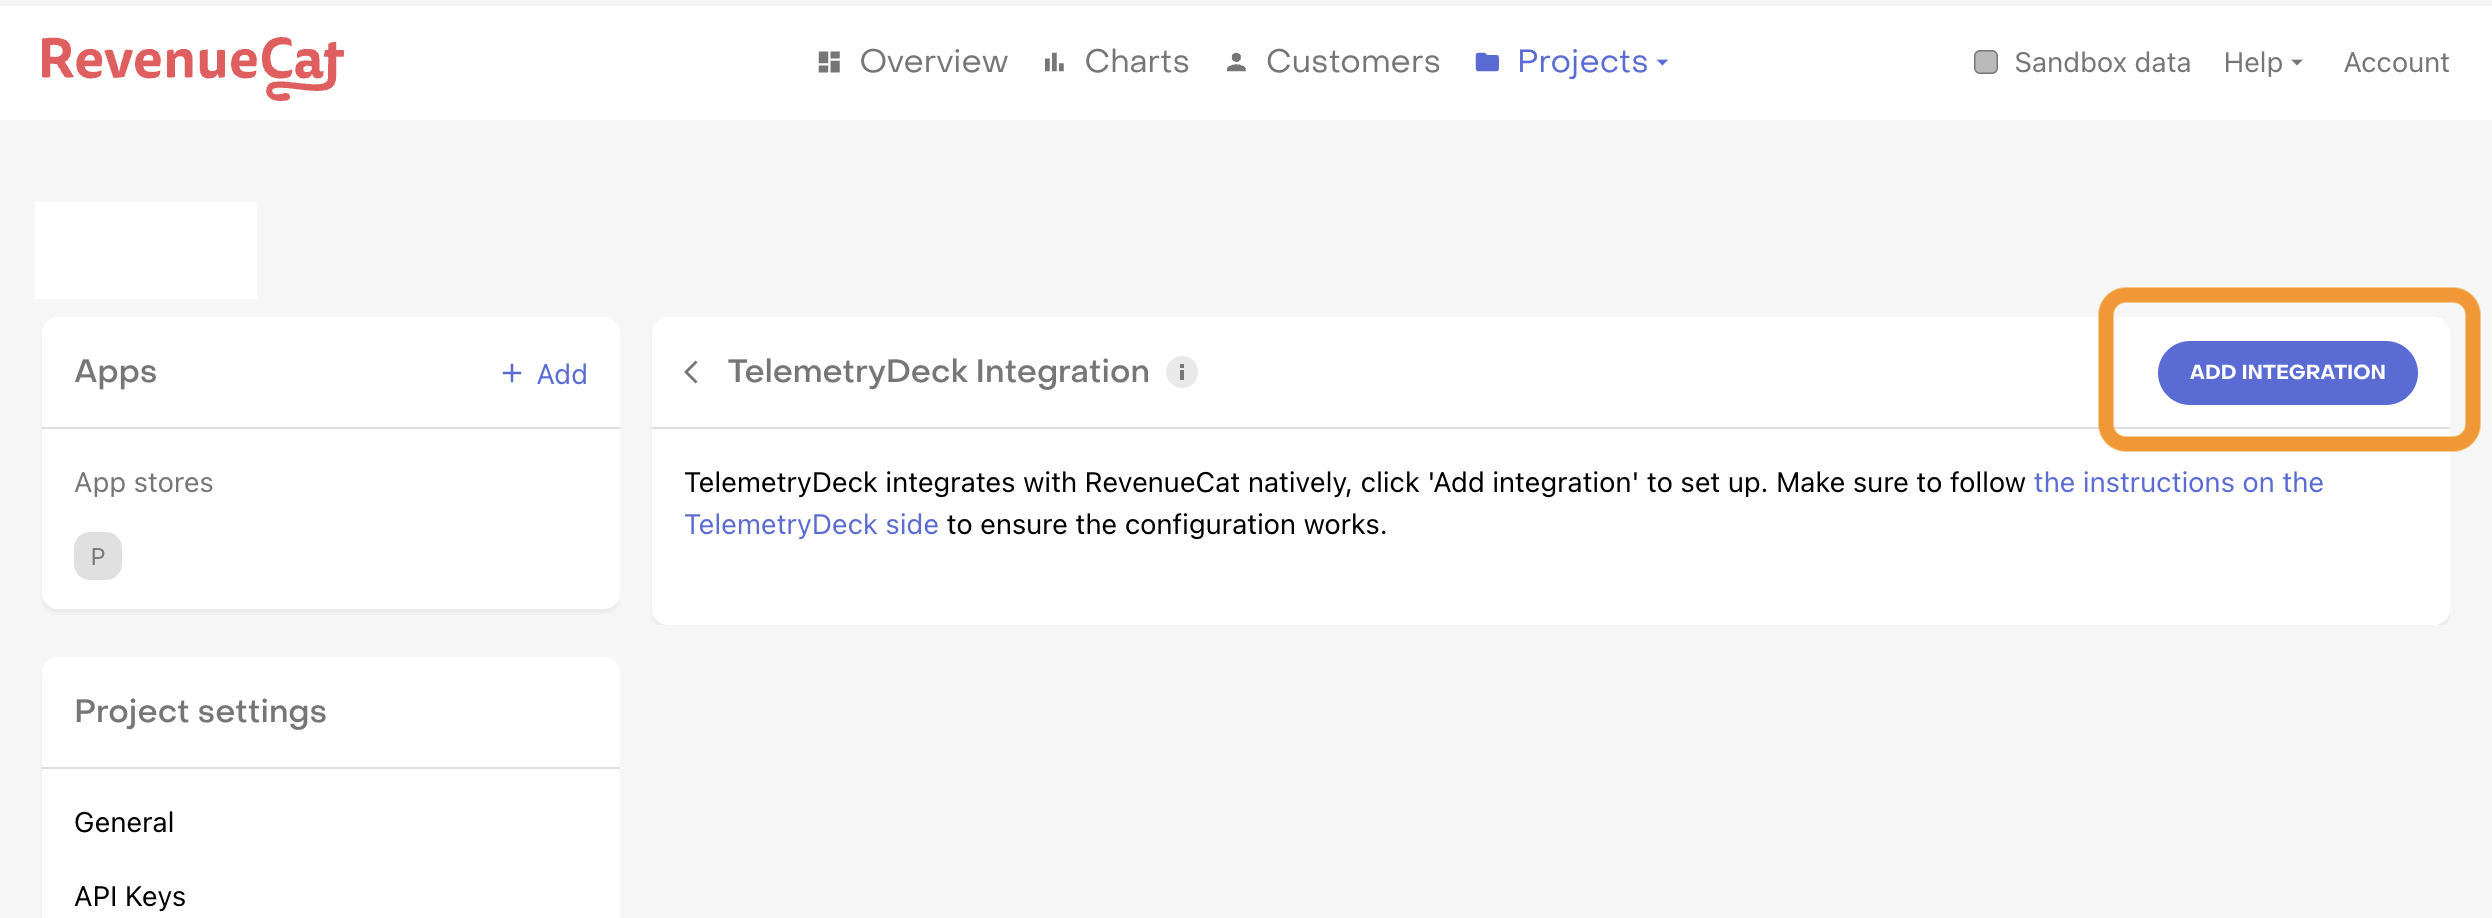
- Select TelemetryDeck
- Click Add Integration to confirm
And you’re done. RevenueCat events should now arrive and be mixed in with your TelemetryDeck signals 🥳