
View this page as Markdown • #docs #articles #setup #beginner #quickstart #insights
Create and manage you custom dashboards
Customizing your dashboard helps you get a better overview of the signals you are most interested in - so let's have a look at how to configure them!
Create a new insight dashboard
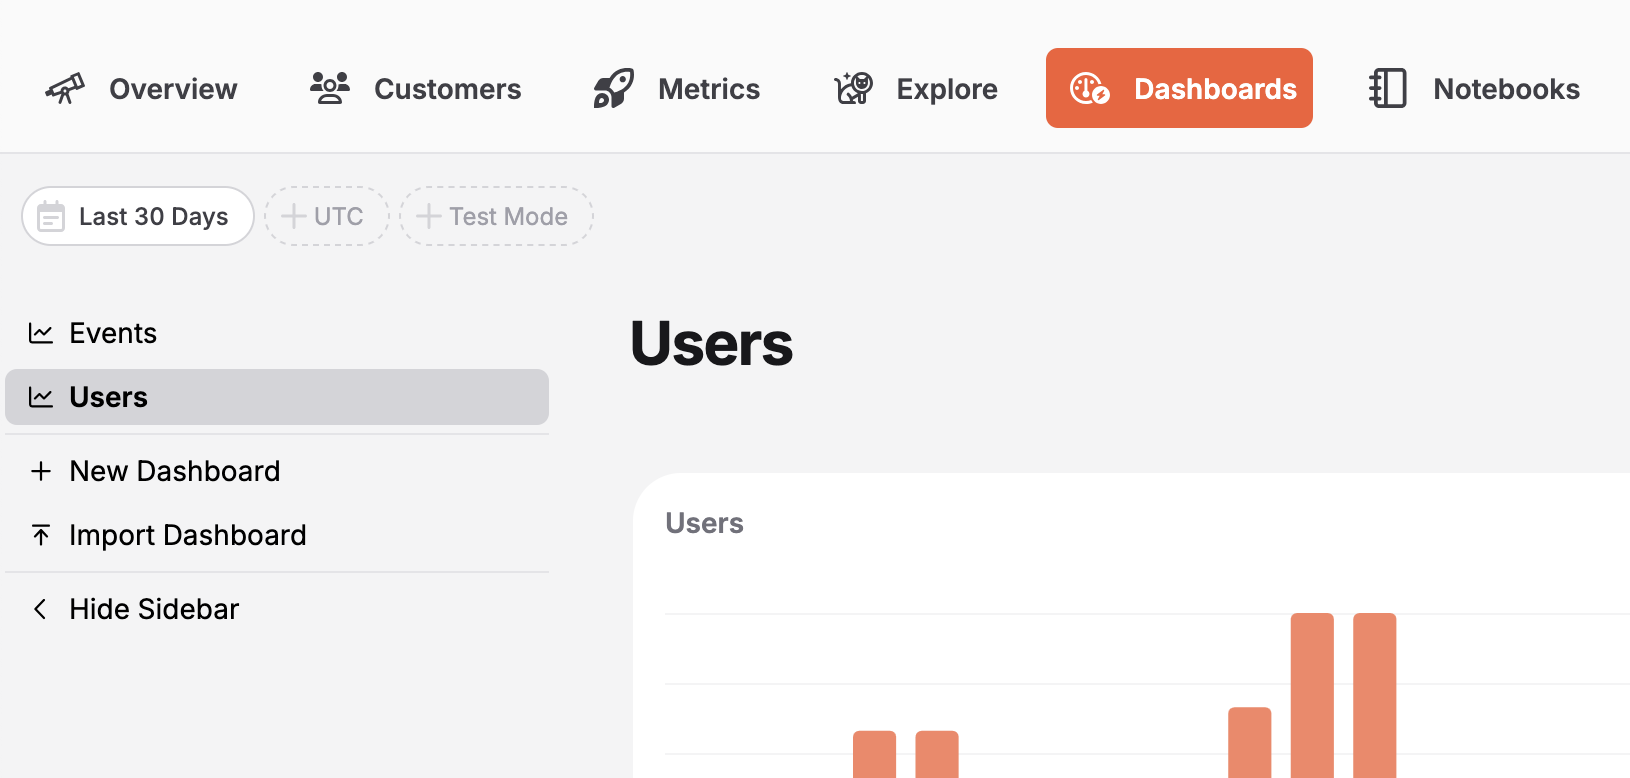
To create a dashboard for your insights, go to your TelemetryDeck dashboard, navigate to Dashboards and look at the left sidebar. Here you can find the New Dashboard button. Create a New Dashboard, give your dashboard a name and then click Create. You now have a new insight dashboard in your sidebar!
Share your dashboards with your organization
Interested in how to add members to your organization? Check out our helpful guide.
You can add other members to your organization in a fly. Your members instantly get access to all created insight dashboards! They can add, edit and delete dashboards - making it easy to work on your goals. You can also share specific dashboards with the members of your organization. To do so, navigate to the dashboard you want to share, and copy the URL.
Manage your dashboards
Create and delete insights from your dashboard
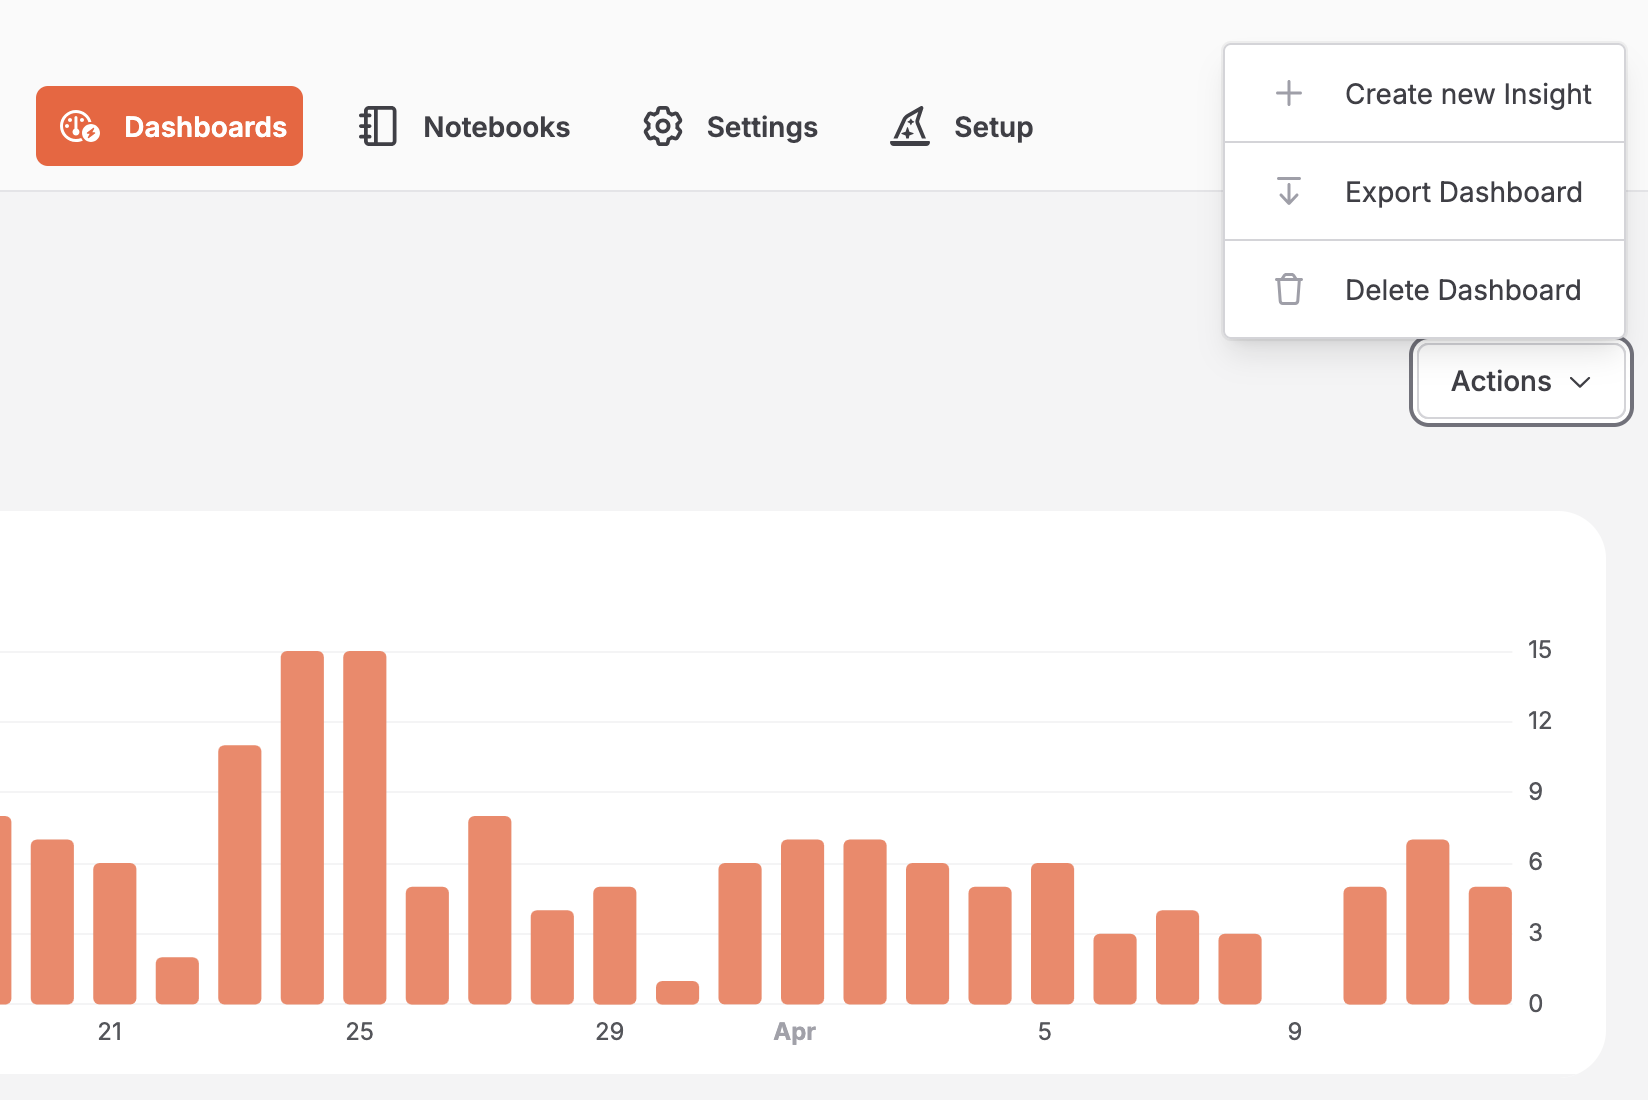
Now let’s create an insight. While in your newly created dashboard, navigate to the Actions drop down button on the top-right side. Click the Create new Insight button and give your new insight a name. Please choose from one of our convenient templates! The insight will be automagically ✨ generated for you. If needed, you can also change the display mode, title, query type, and more - even after creating it.
You can create a bunch of insights inside your dashboards and thus, combine thematically related charts of your insights. And you’re able to resize your charts to regular-sized Compact cards or big Wide cards.
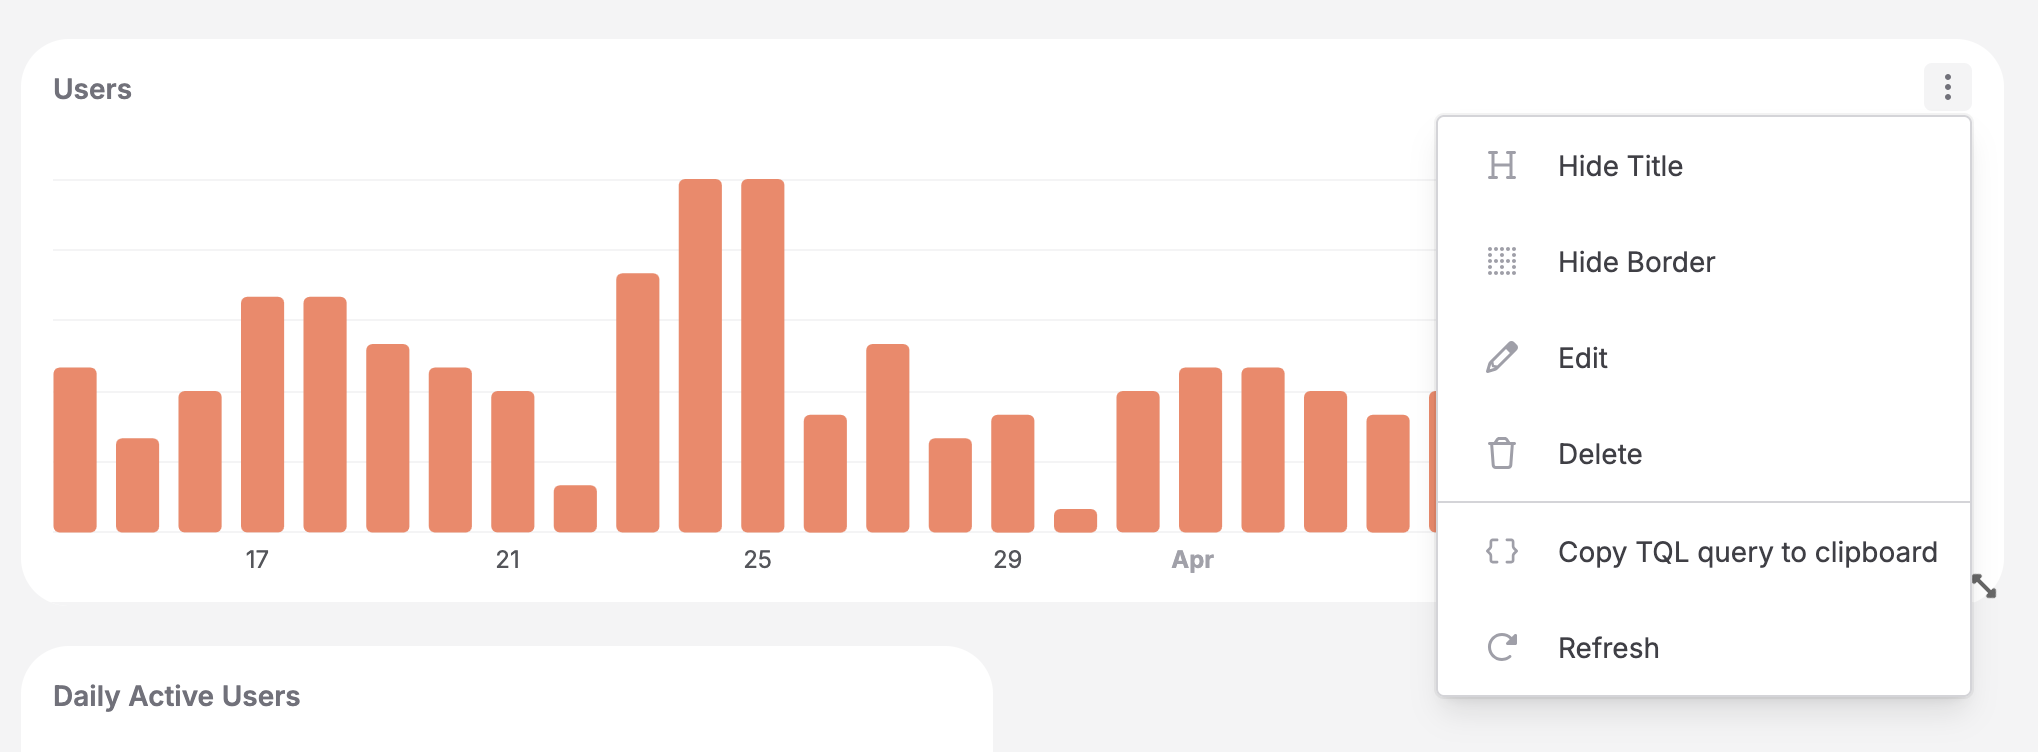
To delete insights from a dashboard, click on the insights’ name. Go to Actions in the top right corner, just delete the current insight by clicking on “Delete Insight”.
Rename your dashboard
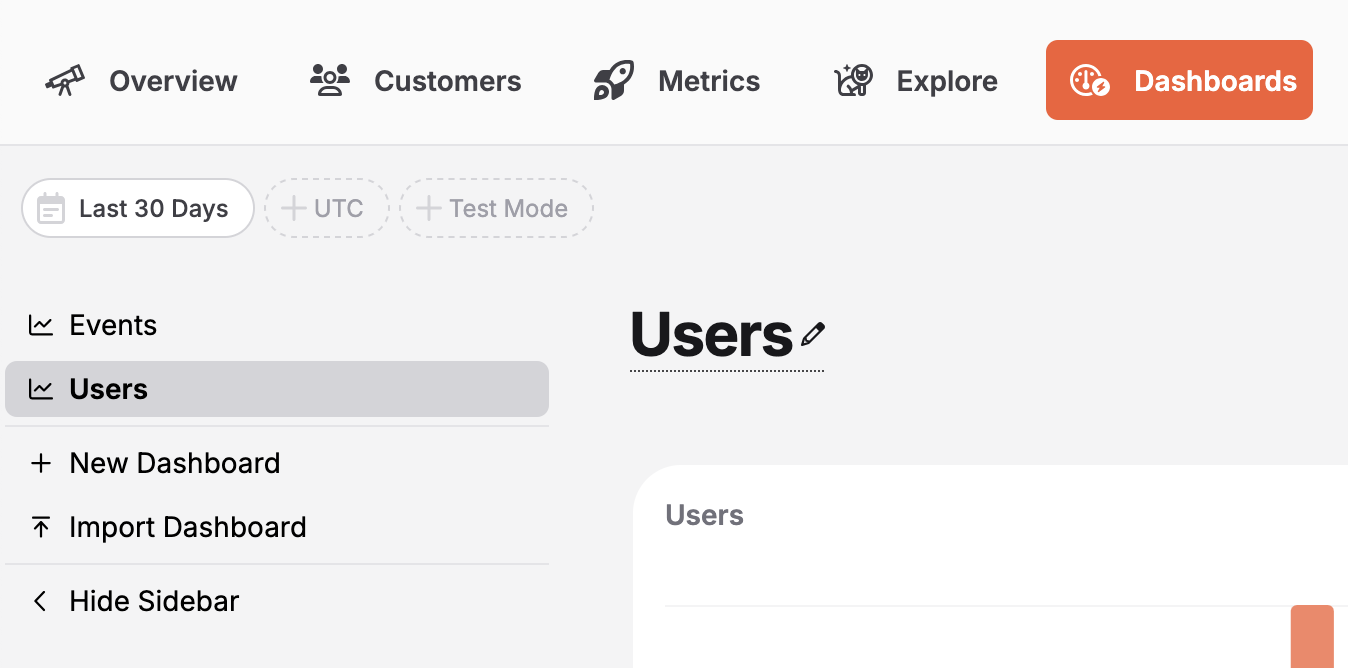
Not happy with the name given to your dashboard? No problem - you can change it quickly! Click on the dashboard whose name you want to change. Then hover over your dashboard name, and click to edit. Save your changes after you are done editing - your dashboard now has a new name.
Delete your dashboard
If you don’t need a dashboard anymore, you can delete it. Deleting your dashboard will also delete all created insights within it. Navigate to your dashboard’s Actions button. You will see a “Delete dashboard” button. After clicking the button, you are asked to confirm your choice since deleting a dashboard isn’t reversible. Click Ok, and your dashboard is gone!