
View this page as Markdown • #docs #articles #documentation
How to write this Documentation
The TelemetryDeck documentation lives in a public Github repository. Here's how to contribute.
Document Metadata
All metadata for a documentation page is specified in the YAML header at the top of its markdown file (also called the frontmatter of the document). Most of the metadata is optional, but the title and lead are required:
---
title: How to write this Documentation
lead: The TelemetryDeck documentation lives in a public GitHub repository. Here's how to contribute.
---
Here are examples for all possible metadata values:
---
title: Setting up your application in SwiftUI
tags:
  - Setup
  - Quickstart
  - Code
testedOn: Xcode 12.2 & Swift 5.3
featured: true
description: How to configure TelemetryClient in SwiftUI based applications
lead: In Scene-based SwiftUI applications, this is how you configure TelemetryClient
meta_title: Setting up your SwiftUI application with TelemetryDeck
meta_description: How to configure TelemetryDeck SDK in SwiftUI based applications
order: 1337
---
Title, Lead and Description
The title string is how the page is titled in the left sidebar, at the top of the documentation page and in the “Getting Started” page, should it appear there.
The lead string is shown on the documentation page, right underneath the title. It is a short description of the documentation page.
The description is used to generate the short descriptive text shown in the “Getting Started” page for featured pages. If not specified, the lead string is used.
Search Engine Title and Description
The meta_title string is used to generate the title of the search engine result for the doc page. If not specified, it defaults to the title string.
The meta_description string is used to generate the description of the search engine result for the documentation page. If not specified, it defaults to the description string.
Tags
Tags are used to organize documentation pages in the sidebar and to link related pages.
One tag:
tags: SwiftMultiple tags:
tags:
  - Setup
  - Quickstart
  - Code
  - Swift
Organizational tags like docs and guides are automatically applied. Use the tags metadata to add additional tags that link articles together, such as
- The type of page (
setup,code) - The software stack or language (
swiftui,android,kotlinetc.) - The experience level of the reader (
beginner,intermediate,advanced) - The type of query (
filter,cohorts, etc.)
Order
You can specify an order metadata value to tell the documentation system in which order to display pages. Pages are sorted within their category by order value ascending.
The order value affects the display in the left sidebar as well as the “previous” and “next” links at the bottom of a page.
order: 42Featured
Documentation pages can be marked as featured to be displayed in the “Getting Started” page.
featured: trueTested On
If the documentation page deals with a specific version of an API or SDK, or something else that might change in the future, it is common courtesy to tell the reader what version of the software or SDK the documentation page or code examples were last tested on. If the value is older, readers can at least infer that they might have to update the code to make it work.
testedOn: Xcode 12.2 & Swift 5.3The string value of the testedOn field is displayed in the right sidebar.
Compatibility and Contribution
The right sidebar contains a list of compatibility information for the documentation page. If testedOn is set, it will display the testedOn value. In addition, it will show the date when the markdown file for the documentation page was last updated. This gives the reader additional hints as to how outdated or current the page is.
The right sidebar will also display a list of contributors who have written an git commit that touches the specific markdown file. The documentation system will try and retrieve the GitHub avatar images for the contributors by
- Retrieving the committer email from the git commit
- Searching for that email in the GitHub API
- Downloading the avatar image from the GitHub API
This will fail if the email is not found in the GitHub API, or if the email is not set as “public email” in the contributor’s GitHub profile.
Best practices
Capitalization
We capitalize our Headings in Sentence Case (e.g., “This is a heading of our docs”).
Date and Time Format
For date formats we use either:
- International/European date format:
DD/MM/YYYY(e.g., 01.04.2026) - ISO 8601:
YYYY-MM-DD(e.g., 2026-04-01)
For times we use either:
- 24-Hour:
HH:mm:ss(e.g., 14:30:05) - 12-Hour:
hh:mm:ss tt(e.g., 02:30:05 PM).AM/PMis capitalized.
Tables
Tables are supported in markdown. Here is an example:
| Name | Description |
|---|---|
title | The title of the page. This is used in the left sidebar, at the top of the page and in the “Getting Started” page. |
Here is the markdown code for the previous table:
| Name    | Description                                                                                                        |
| ------- | ------------------------------------------------------------------------------------------------------------------ |
| `title` | The title of the page. This is used in the left sidebar, at the top of the page and in the "Getting Started" page. |
Markdown
Documentation is written in Markdown. This means you can write documentation in plain text, and it will be converted to HTML. All standard Markdown elements are supported, such as bold text, italic text, inline code, and links.
- Unordered lists
- are just dashes
- And ordered
- lists
- are just numbers
Here is the markdown code for the previous paragraphs:
All standard Markdown elements are supported,
such as **bold text**, _italic text_, `inline code`,
and [links](https://www.markdownguide.org/basic-syntax/#link).

- Unordered lists
- are just dashes

1. And ordered
1. lists
1. are just numbers
Images
To display an image in a docs article, add it to the images directory. You can then link it using regular markdown image syntax, adding /docs/images/ before the images’ name.
Example: You just added the file privacy-overview.png to the images folder. You can now display that image like so:
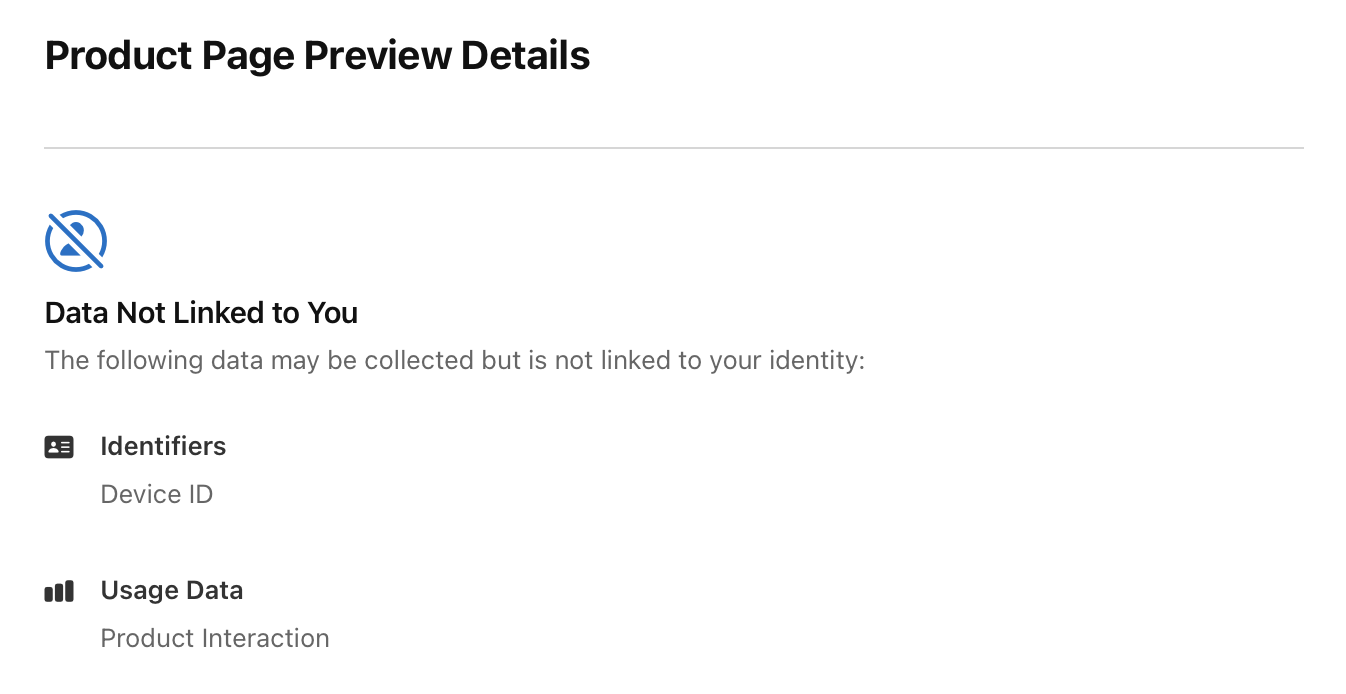The first part is the image’s alt text. The second part is the path (/docs/images/) and the image file name privacy-overview.png.
Here’s what it looks like:

Code Blocks
Code blocks begin with three backticks (`) and end with three backticks (`). On the same line as the opening backticks, you must specify the programming language of the code block.
```swift
print("Hello, world!")
```
Results in:
print("Hello, world!")If you can’t specify a language, please use text instead.
```text
this is
   just
    plain text
```
Custom Shortcodes
In addition to the standard shortcodes, you can also use custom shortcodes. These allow you to display info boxes and other custom elements.
Info Box
Use the noteinfo shortcode to display a box giving the reader additional information .
{% noteinfo "Your pizza is ready 🍕" %}
It is time. You can now take your pizza out of the oven.
{% endnoteinfo %}
Here is how this looks like:
Warning Box
Just as with noteinfo, you can also use notewarning to warn the readers of dangerous actions or consequences:
{% notewarning "Take care of your pizza!" %}
When removing your pizza out of the oven, please make sure to not burn your fingers. Also make sure your cat won't eat it while you look at this document.
{% endnotewarning %}
This is how the notewarning output looks like:
Buttons
You can use button links to link to especially important pages or resources. Make a button by supplying
- a label
- an URL to link to
- and a Boolean to indicate wether the button is a primary button (true) or a secondary button (false)
{% bigButton "All your base" "https://en.wikipedia.org/wiki/All_your_base_are_belong_to_us" true %}
{% bigButton "Main screen turn on." "https://en.wikipedia.org/wiki/Zero_Wing" true %}Call to Action
In rare cases, we want to display a call to action to register for TelemetryDeck. This is done using the callToAction shortcode. It needs two string parameters for the first and second line of text respectively.
{% callToAction "Let's make your app awesome!" "Get awesome privacy-first analytics for your app" %}The shortcode will automatically link to the registration page and the docs: