
#docs #articles #setup #how-to #beginner #swift
Track time-based user engagement with Duration Signals
With Duration Signals, you can easily measure how long users spend on different activities in your app, helping you identify engagement patterns, optimize workflows, and improve user experience with precise timing data.
What are Duration Signals?
Duration Signals are a powerful feature of TelemetryDeck’s SDKs that make it easier than ever to understand how users interact with your app over time. Whether you want to track time spent during onboarding, content consumption, checkout flows, or any other user journey, Duration Signals provide accurate, millisecond-precise timing data.
The SDK automatically handles all the complexities of time tracking for you:
- Precise measurement down to milliseconds (3 decimal places)
- Automatic exclusion of time spent while the app is in the background
- Merging parameters from both start and stop calls
- Thread-safe implementation for accurate timing
Implementation
Using Duration Signals is as simple as bracketing an activity with two function calls:
// Start tracking when the activity begins
TelemetryDeck.startDurationSignal("activityName")

// ... user performs the activity ...

// Stop tracking and send the signal when the activity ends
TelemetryDeck.stopAndSendDurationSignal("activityName")
The duration is automatically calculated and included in your signal as TelemetryDeck.Signal.durationInSeconds.
View Lifecycle Integration
Duration Signals integrate seamlessly with your view lifecycles in SwiftUI:
struct TutorialView: View {
    var body: some View {
        VStack {
            Text("Welcome to the Tutorial!")
        }
        .onAppear {
            TelemetryDeck.startDurationSignal("tutorial")
        }
        .onDisappear {
            TelemetryDeck.stopAndSendDurationSignal("tutorial")
        }
    }
}
Both functions also take an optional parameters argument where you can pass additional information just like with the signal function.
Technical Details
SDK Requirements
- Swift SDK: Version 2.7.0 or later
- Kotlin SDK: Version 4.1.0 or later
- Flutter SDK: Version 2.1.0 or later
Edge Cases & Limitations
- Multiple starts: If you call
startDurationSignalwith a name that’s already being tracked, the previous tracking is discarded and a new one begins. - Missing stop: If a duration signal is never stopped, it will not be sent.
- Signal name conflicts: Use unique signal names for different activities to avoid conflicts.
- App restarts: Duration signals are not stored to persistent storage, therefore they are not appropriate for tracking long-term user engagement.
Analyzing Duration Data
Duration data is sent as a numerical value in the TelemetryDeck.Signal.durationInSeconds parameter, which opens up several analysis possibilities.
Using the Histogram Aggregation
The histogram aggregation type is perfect for visualizing the distribution of duration data:
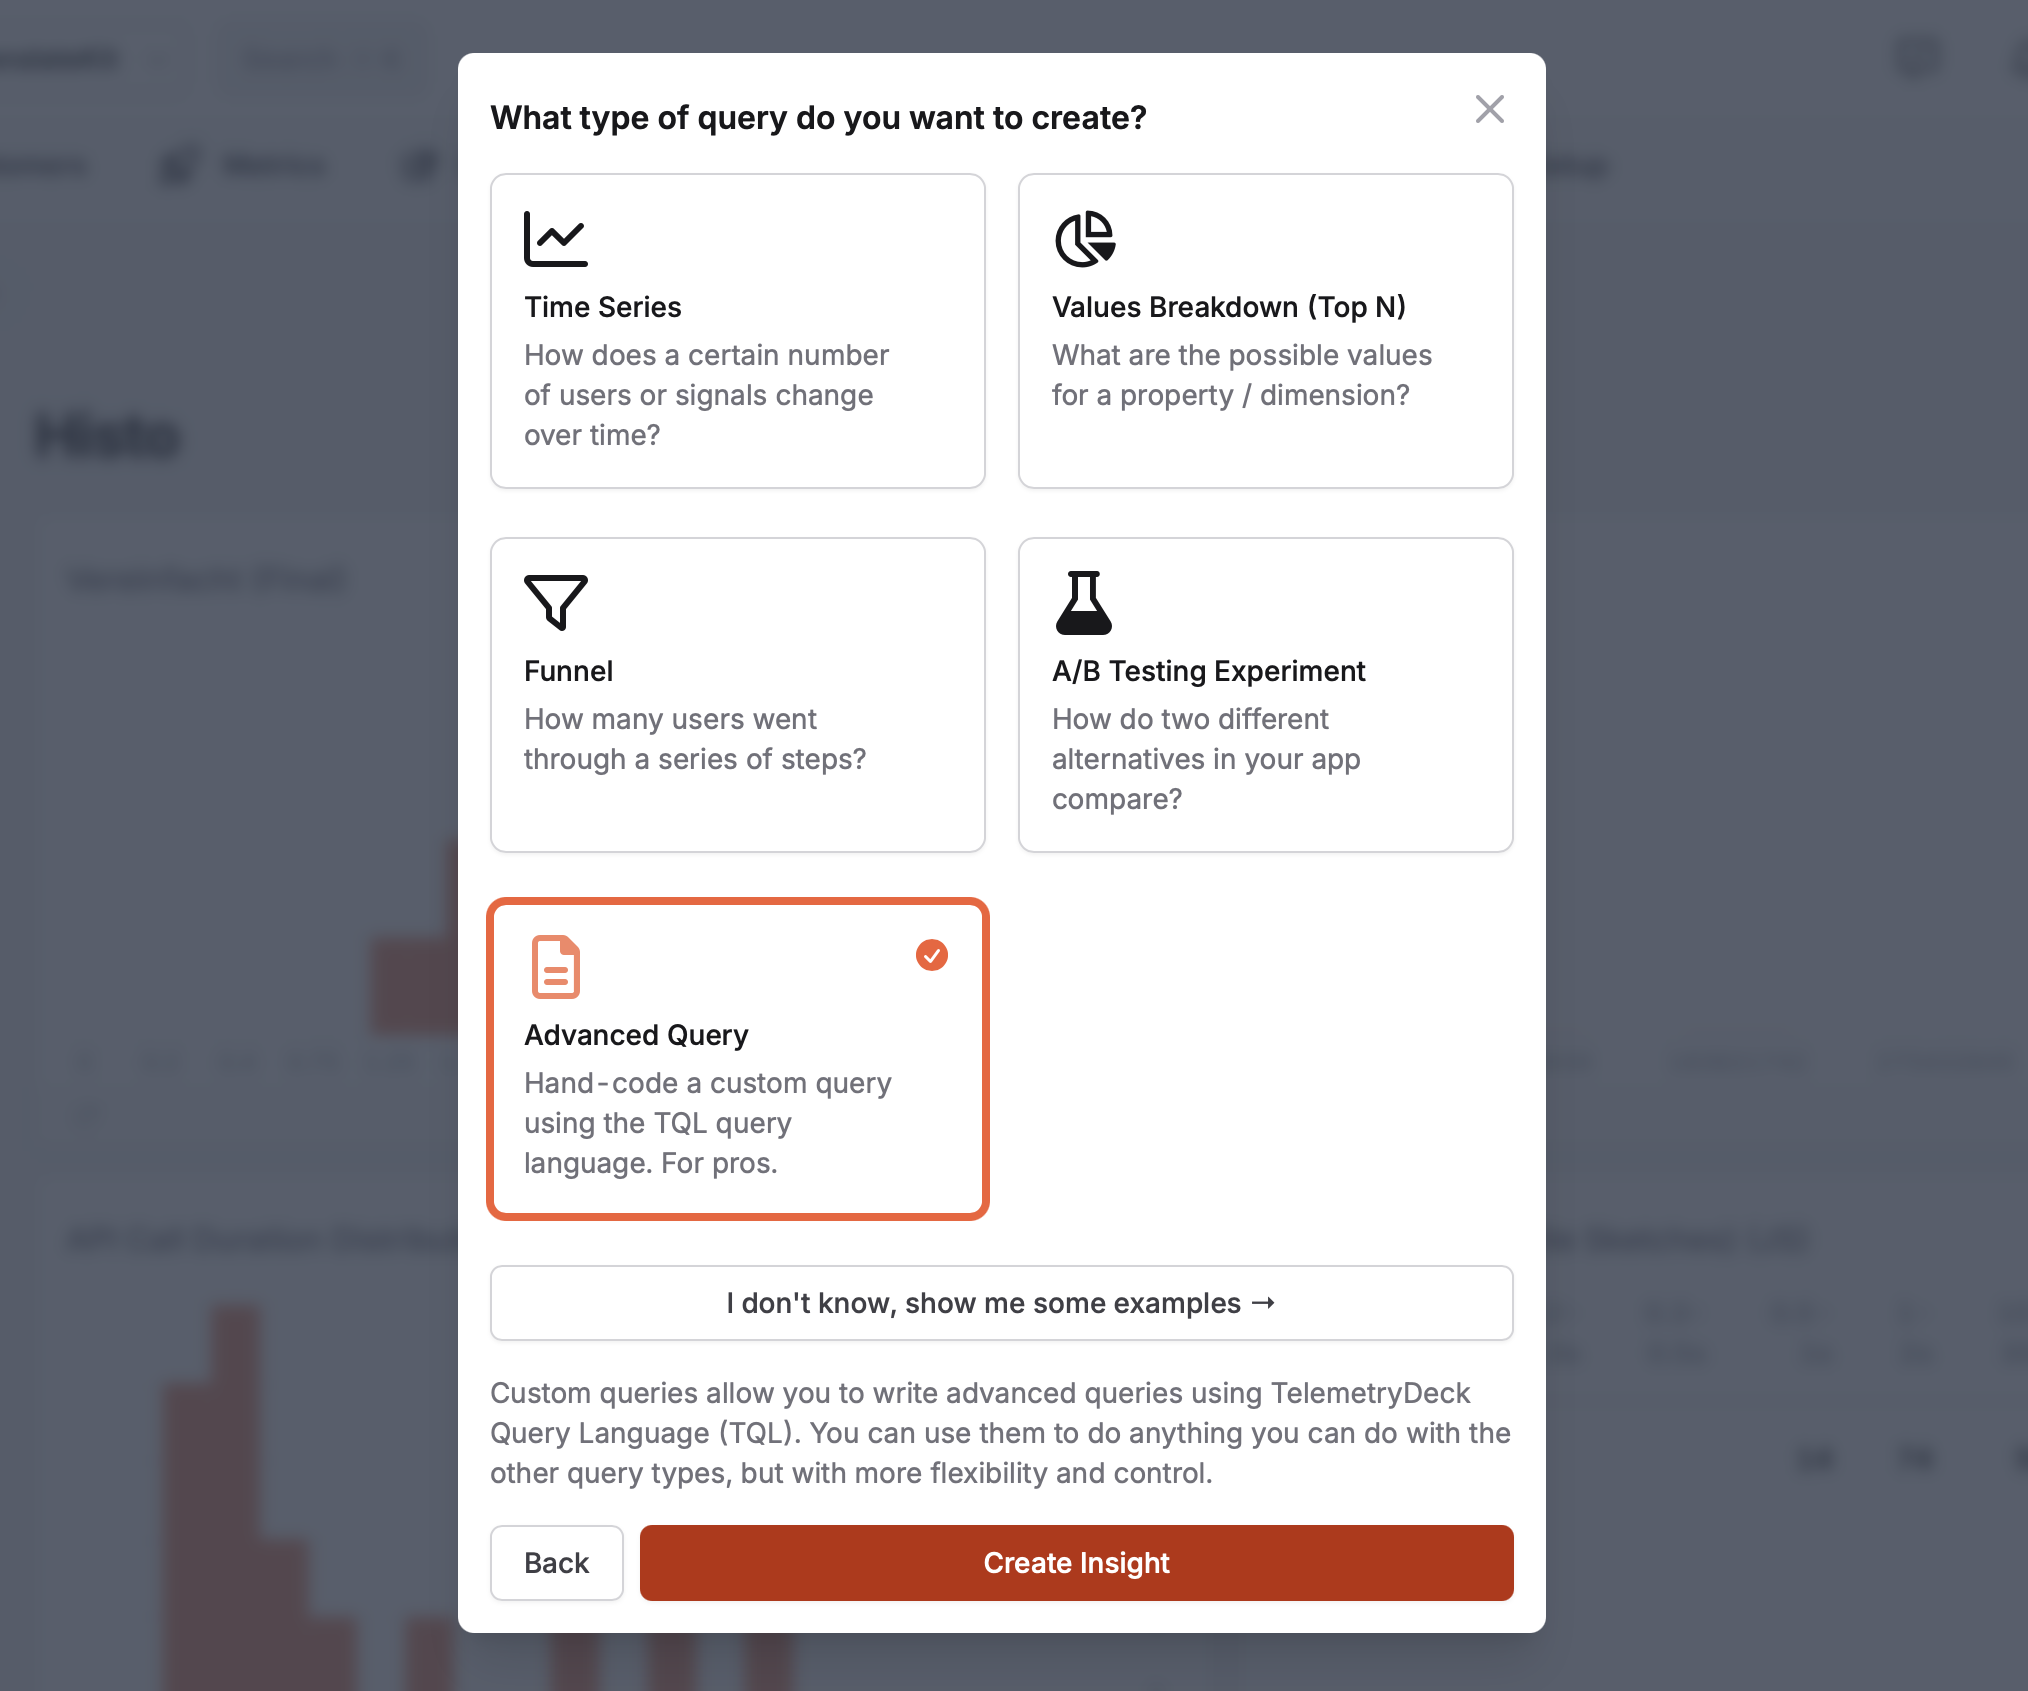
Create a new insight of type “Advanced Query”, then open the “JSON Editor”:
Copy & paste the following histogram aggregation query and adjust
<YOUR_SIGNAL_NAME>to your needs:
{
  "aggregations": [
    {
      "fieldName": "TelemetryDeck.Signal.durationInSeconds",
      "name": "durationSketch",
      "splitPoints": [0, 0.5, 1, 1.5, 2, 2.5, 3, 4, 5, 7.5, 10, 15, 20, 30, 45, 60, 90, 120],
      "type": "histogram"
    }
  ],
  "filter": {
    "type": "and",
    "fields": [
      {
        "type": "range",
        "column": "TelemetryDeck.Signal.durationInSeconds",
        "matchValueType": "DOUBLE",
        "lower": "0",
        "upper": "120",
        "upperOpen": true
      },
      {
        "dimension": "type",
        "type": "selector",
        "value": "<YOUR_SIGNAL_NAME>"
      }
    ]
  },
  "granularity": "all",
  "queryType": "timeseries"
}
Set the chart type to be a bar chart in the UI via the insight’s top right segmented control:
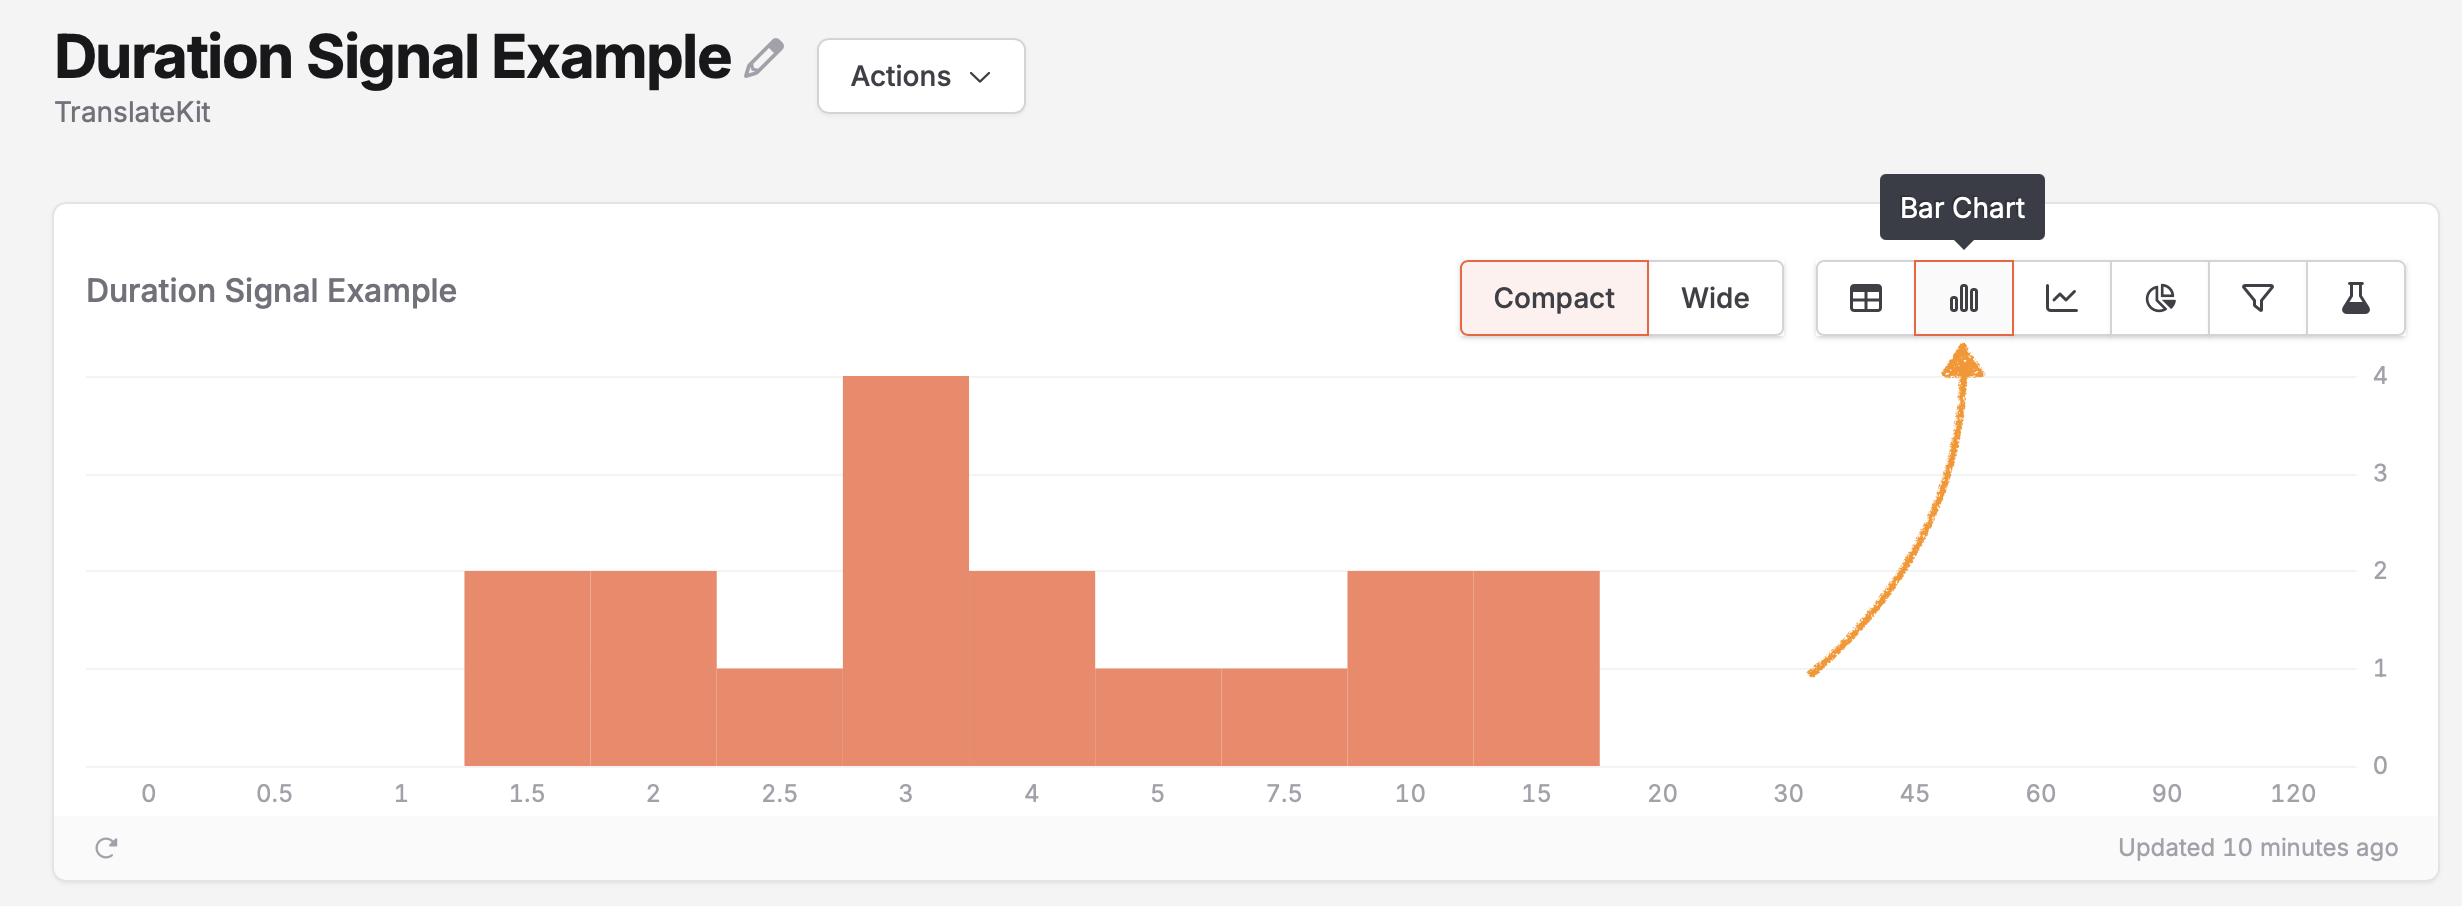
You might also want to adjust the
splitPointsarray based on the expected duration of your activity, for example:- Short interactions (button clicks):
[0, 0.05, 0.1, 0.15, 0.2, 0.3, 0.5, 1, 2, 5] - Medium interactions (form fills):
[0, 1, 2, 3, 4, 5, 7.5, 10, 15, 20, 30] - Long interactions (content consumption):
[0, 5, 15, 30, 60, 120, 300, 600, 1200]
- Short interactions (button clicks):
Common Use Cases
Onboarding Optimization
Track time spent in each step of your onboarding flow to identify which steps take too long or where users might get stuck:
// In first onboarding screen
TelemetryDeck.startDurationSignal("Onboarding.step1")

// When moving to second screen
TelemetryDeck.stopAndSendDurationSignal("Onboarding.step1", parameters: ["pushAccess": "granted"])
TelemetryDeck.startDurationSignal("Onboarding.step2")

// etc.
Note that Duration Signals are just ordinary signals, so you can totally reuse these for creating funnel charts and more.
Content Engagement
Measure how long users engage with different content types to understand what resonates with your audience:
// When user opens an article
TelemetryDeck.startDurationSignal("Content.viewing", parameters: [
    "contentType": "article",
    "contentID": article.id,
    "contentCategory": article.category,
])

// When user leaves the article
TelemetryDeck.stopAndSendDurationSignal("Content.viewing", parameters: [
    "reachedEnd": userReachedEnd ? "true" : "false",
])
Feature Discovery
Track how long users spend exploring new features to assess the effectiveness of your feature introduction:
// When user enters new feature area
TelemetryDeck.startDurationSignal("Feature.exploration", parameters: [
    "featureName": "videoEditor",
    "entryPoint": entryPoint,
])

// When user leaves the feature area
TelemetryDeck.stopAndSendDurationSignal("Feature.exploration", parameters: [
    "completedAction": userCreatedVideo ? "true" : "false"
])
Performance Monitoring
Track real-world performance metrics by measuring operation durations:
// Before starting an intensive operation
TelemetryDeck.startDurationSignal("Render.operation", parameters: [
    "complexity": "\(complexity)",
    "inputSize": "\(inputSizeInMB)",
])

// After operation completes
TelemetryDeck.stopAndSendDurationSignal("Render.operation", parameters: [
    "success": success ? "true" : "false",
    "outputSize": "\(outputSizeInMB)",
])
Network Request Timing
Duration Signals methods are marked with @MainActor, which means two things:
- In UI contexts like SwiftUI views, no
awaitis needed (as shown in the above examples) - When calling from background contexts like network operations, you need to use
await
Here’s how to measure network requests that run on background threads:
func fetchData() async throws -> Data {
    // Since we're potentially on a background thread, await is needed
    await TelemetryDeck.startDurationSignal("Network.fetch", parameters: [
        "endpoint": "users/profile"
    ])

    do {
        // Perform your network request
        let (data, response) = try await URLSession.shared.data(from: url)
        let statusCode = (response as? HTTPURLResponse)?.statusCode ?? 0

        // Again, await is needed here
        await TelemetryDeck.stopAndSendDurationSignal("Network.fetch", parameters: [
            "status": "\(statusCode)",
            "success": "true"
        ])

        return data
    } catch {
        await TelemetryDeck.stopAndSendDurationSignal("Network.fetch", parameters: [
            "success": "false"
        ])
        throw error
    }
}
What’s Next?
Start by identifying a few key user journeys or critical performance areas in your app that would benefit from timing data. Implement Duration Signals for these activities first, then use the histogram aggregation to visualize and analyze the results.
Remember that Duration Signals can be combined with your existing analytics strategy - they provide an additional dimension to your user data without replacing what you already have.